How to Find a GE Washing Machine Belt Replacement: Step-by-Step DIY Guide
Is your GE washing machine refusing to spin or agitate like it used to? Before you rush to replace the entire unit or spend hundreds on repairs, there’s a good chance the issue lies with a crucial yet simple part: the drive belt.
The good news? Replacing it is far easier than you might think.
GE (General Electric) washers are known for durability, but even the best machines eventually wear down. One of the most common problems is a worn or broken drive belt—connecting the motor to the drum. Without it, your washer sits idle... silently mocking your growing laundry pile.
In this complete guide, we’ll cover how to find the right GE washing machine belt replacement, identify the correct part, and walk you through the DIY replacement.
Let’s roll up our sleeves and dive in!
Understanding the GE Washing Machine Belt
Before we get into the how-to, let's cover the basics.
The washing machine belt is a looped rubber piece that plays a critical role by linking the motor and the drum. No belt means no spinning.
In GE washers, especially top-load models, the belt is usually located at the bottom or back of the machine.
What the Belt Does
- Transfers motor energy to the drum
- Absorbs tension and maintains operational flexibility
- Helps balance the drum to reduce shaking and odd noises
A healthy belt typically lasts 5 to 10 years, depending on usage.
Why Your GE Washing Machine Belt Might Be Failing
Wondering why such a small part can cause such big issues? Here's why:
- Wear and Tear: Over time, rubber dries out, cracks, and stretches.
- Overloading: Heavy loads strain the belt, wearing it down faster.
- Poor Installation or Design Flaws: Misaligned belts or inferior materials can shorten lifespan.
- Obstructions or Jammed Drums: Foreign objects force the belt to overcompensate and snap.
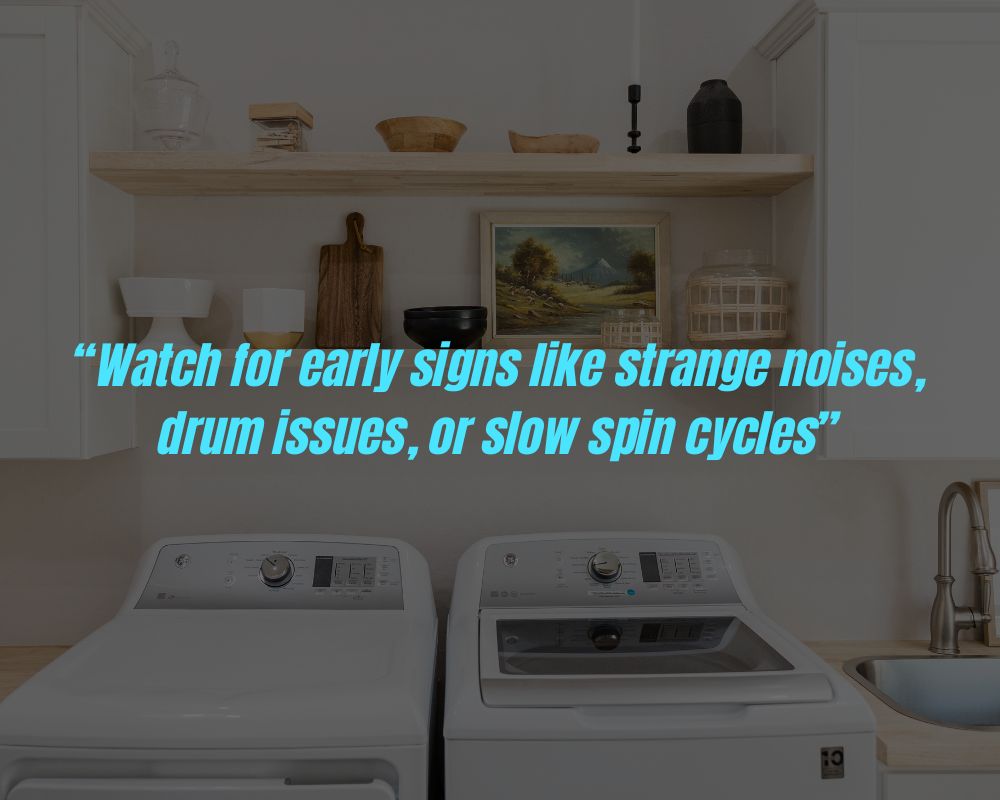
Watch for early signs like strange noises, drum issues, or slow spin cycles.
Tools and Materials You’ll Need
Before starting, gather everything you need:
Essential Tools
- Phillips and flathead screwdrivers
- Socket wrench set
- Pliers
- Flashlight or headlamp
- Work gloves
- Towel or rag for spills
Replacement Parts
- Correct GE washer belt
- Optional: Replacement pulleys (if worn)
Safety Equipment
- Safety goggles
- Gloves
- Dust mask (optional)
Work Area Prep
- Unplug the machine and shut off the water.
- Clear space around the washer.
- Lay towels or a plastic mat to catch spills.
Tip: Prepping everything ahead saves you from mid-repair store runs.
How to Identify the Right GE Washing Machine Belt Replacement
Not every GE washer uses the same belt. Here’s how to find the correct one:
Step 1: Locate Your Washer’s Model Number
Check one of these spots:
- Under the lid (top-load models)
- Behind the control panel
- On the door frame (front-load models)
- On the back panel
Write down the model number.
Step 2: Choose the Right Belt Type
- V-Belts: Thicker, older models
- Multi-Rib Belts: Thinner, modern washers
Step 3: Buy from a Trusted Source
Reliable sources include:
- GE Appliances Parts
- Amazon (OEM parts preferred)
- AppliancePartsPros
- RepairClinic
Always match the part number to your washer’s model!
Step-by-Step Guide to Replacing a GE Washing Machine Belt
Got your tools and parts ready? Let’s get to it.
Step 1: Unplug and Prep the Washer
- Unplug from the wall
- Turn off the water
- Move washer away from the wall
- Place a towel underneath to catch leaks
Step 2: Remove the Access Panel
- Use a screwdriver/socket wrench.
- Keep the screws somewhere safe!
Tip: Tilt the washer back if the belt is accessed from the bottom.
Step 3: Locate and Inspect the Belt
Look for:
- Cracks or splits
- Shiny/glazed areas
- Stretching or fraying
Step 4: Remove the Old Belt
- Pull it off the pulleys.
- Rotate a pulley if needed for easier removal.
Step 5: Install the New Belt
- Loop over the small motor pulley first.
- Stretch it around the larger tub pulley while rotating.
It should be snug but not overly tight.
Step 6: Check Alignment and Tension
Manually spin the drum. The belt should stay in place without slipping.
Step 7: Reassemble and Test
- Reattach the panel
- Plug the washer back in
- Run a short spin cycle (without clothes) to test
Congrats! You just performed a DIY belt replacement!
Tips for a Smooth DIY Belt Replacement
Even pros run into snags. Here’s how to avoid common mistakes:
- Double-Check the Part Number: Looks can be deceiving—confirm with the model number.
- Take Pictures: Document the disassembly for easier reassembly.
- Don’t Over-Tighten: Allow some flexibility in the belt.
- Lube Pulleys (If Needed): Use appliance-safe lubricant sparingly.
- Clean the Machine: Remove lint or dust while open.
- Listen Carefully: Squeaks or rubbing sounds mean something’s wrong.
- Have Help Available: A second pair of hands makes things easier.
Cost of Replacing a GE Washing Machine Belt
DIY Costs
- Belt: $10–$30
- Tools: $0–$50 (if not already owned)
- Time: 30–60 minutes
Total DIY Cost: $10–$80
Professional Repair Costs
- Labor: $80–$150/hour
- Part Markup: $20–$50
- Trip Charge (sometimes): $50–$100
Total Pro Cost: $150–$300
Clearly, DIY is the wallet-friendly choice!
Preventative Maintenance for Your GE Washing Machine
Want to extend the life of your washer (and belt)? Follow these simple habits to avoid costly appliance repair shops:
1. Don’t Overload
Respect capacity limits to avoid belt strain.
2. Run Monthly Maintenance Cycles
Clean your washer with vinegar or a washing machine cleaner.
3. Clean Lint and Drain Filters
Keeps your machine running efficiently.
4. Inspect the Belt Periodically
Look inside every 6–12 months.
5. Level Your Washer
An uneven machine causes extra vibration and stress.
Think of your washer like a relationship: a little attention goes a long way.